Layout System
T3 Framework supports multiple layouts. To know more, please check our guidelines below.
I. About T3 Framework Layout
Layout configuration
T3 comes with ease of layout customization. The visual layout configuration allows you to configure layout never easier.
Still have trouble?Layout customization
The video tutorial guides you how to customize the layouts, how to add new layout, and how to customize blocks in a layout
Still have trouble?T3 supports multiple layouts by default. In each layout, it is built up with multiple blocks (header, mainbody, spotlight ...). Each block contains one or many module positions. You can assign specific module positions to a block.
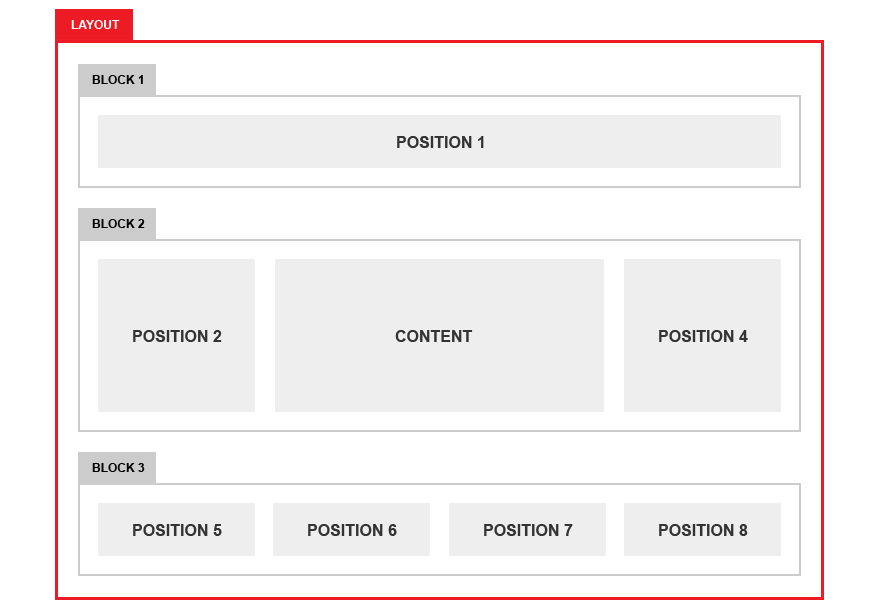
II. Multiple Layouts
T3 framework supports multiple layouts that allow you to make your content displayed flexibly:
The 3 columns (left, content, right) can be configured to display in different way: Left + Content + Right, Content + Left + Right, Left + Right + Content ...
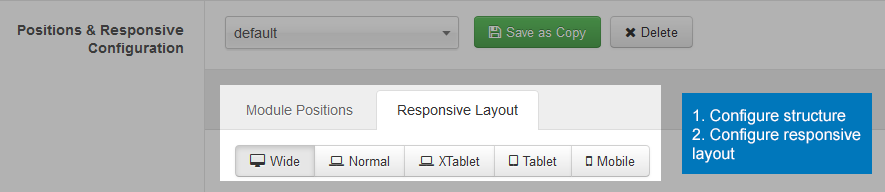
III. Layout Configuration
In the layout part, there will be 2 parts to be configured: The Layout Structure and the Layout Configuration.
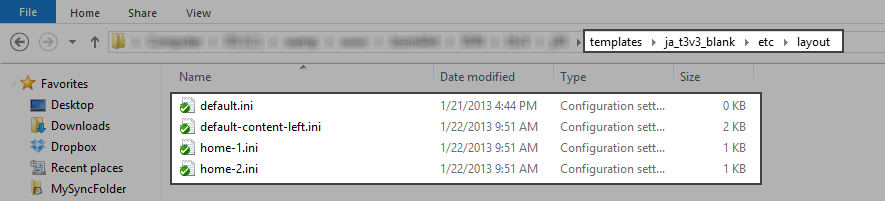
Where the settings saved?
Every time you customize, change settings of layout, the changes will be saved to an .ini file. For the fist time you make changes, the .ini will be generated and they are located in: templates/t3_blank/etc/layout.
When I change setting of layout: default. Now, file default.ini is generated with all settings of the defaultlayout. You can use the file to customize your layout by changing the settings in this file
The format of settings stored in this .ini file:
[block2@spotlight-1]
position="position-2"
default="span3"
tablet="span6"
IV. Layout Customization
Create new layout
Step 1: Create new layout
There are 2 ways to create new layout.
Save As Copy
When you configure layout from back-end, you can clone a layout.

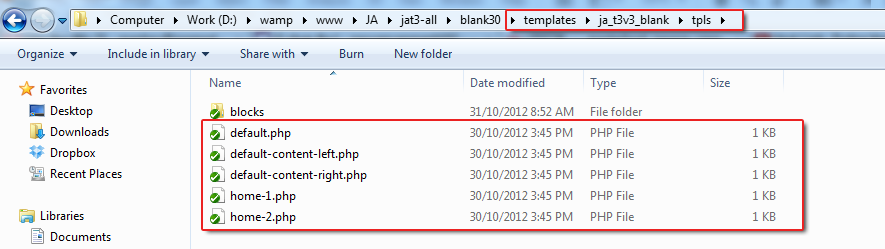
Add new layout file
Each layout has its own file. The files are located in: your_site_folder/templates/t3_blank/tpls
To create new layout, you should clone a file here then edit it - define blocks that the layout uses.
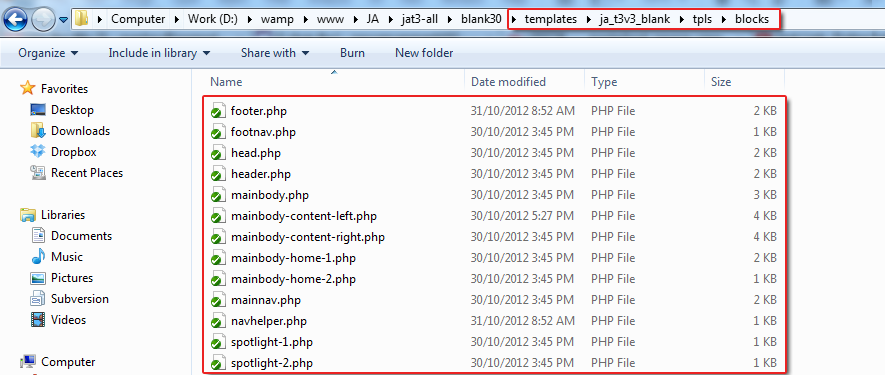
Step 2: Create block
In the new layout, if you wish to use new block, you can create new one. Each block has its own file. The files are located in: your_site_folder/templates/t3_blank/tpls/blocks. Create new one by adding new php file with then name it or clone a block file then rename and customize it.
Step 3: Customize block
Each block has a number of module position assigned to, you can define the assigned module positions for the block using the code:
<jdoc:include type="modules" name="<?php $this->_p('your_module_position_name') ?>" />
<!-- SIDEBAR 1 -->
<div class="ja-sidebar ja-sidebar-1 <?php echo $this->getClass($layout, $col) ?>" <?php echo $this->getData ($layout, $col++) ?>>
<jdoc:include type="modules" name="<?php $this->_p($sidebar1) ?>" style="JAxhtml" />
</div>
<!-- //SIDEBAR 1 -->
Step 4: Define blocks in layout
Open the php file of the layout to define the blocks that the layout includes.
<?php $this->loadBlock ('block_name') ?>
   <body>

    <?php $this->loadBlock ('header') ?>

    <?php $this->loadBlock ('mainnav') ?>

    <?php $this->loadBlock ('spotlight-1') ?>

    <?php $this->loadBlock ('mainbody') ?>

    <?php $this->loadBlock ('spotlight-2') ?>

    <?php $this->loadBlock ('navhelper') ?>

    <?php $this->loadBlock ('footer') ?>

  </body>
Code Format for customizing layout
Load a block inside layout/block
<?php $this->loadBlock ('blockname') ?>
Load a spotlight
<?php $this->loadBlock ('spotlight/4cols', $this->getPosname('position-1, position-2, position-3, position-4')) ?>
Include a position
<jdoc:include type="modules" name="<?php $this->_p('your_module_position_name') ?>" />
navhelper, it will load the module configured for navhelper in backend